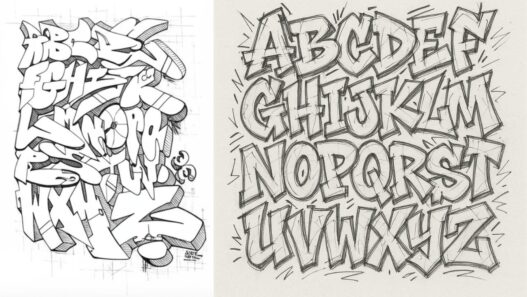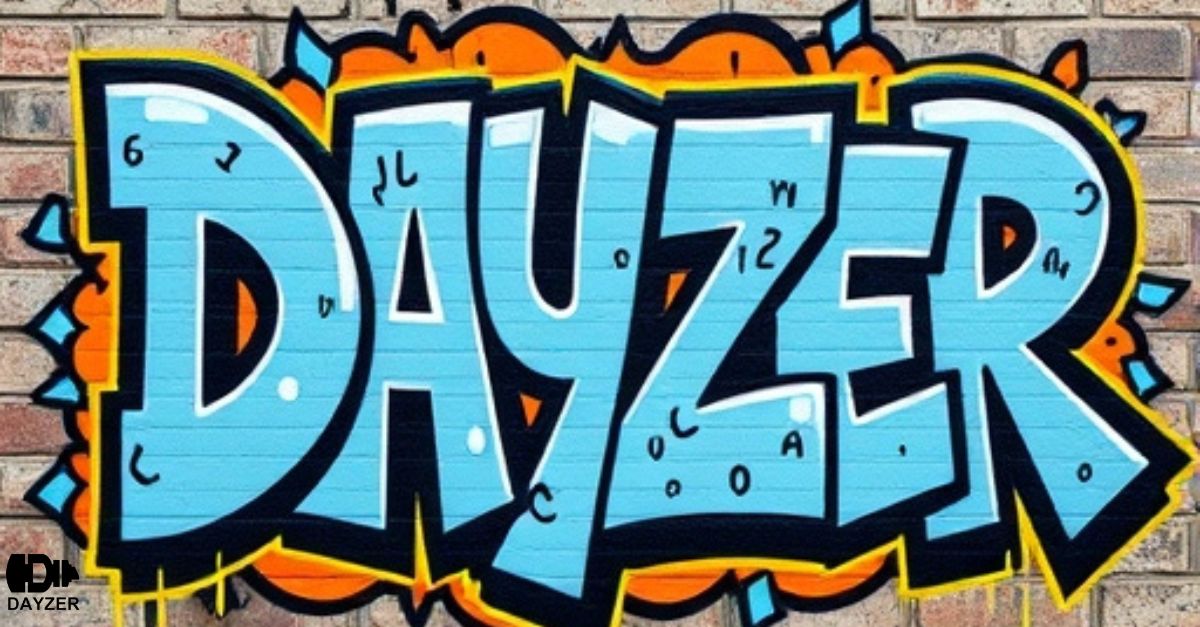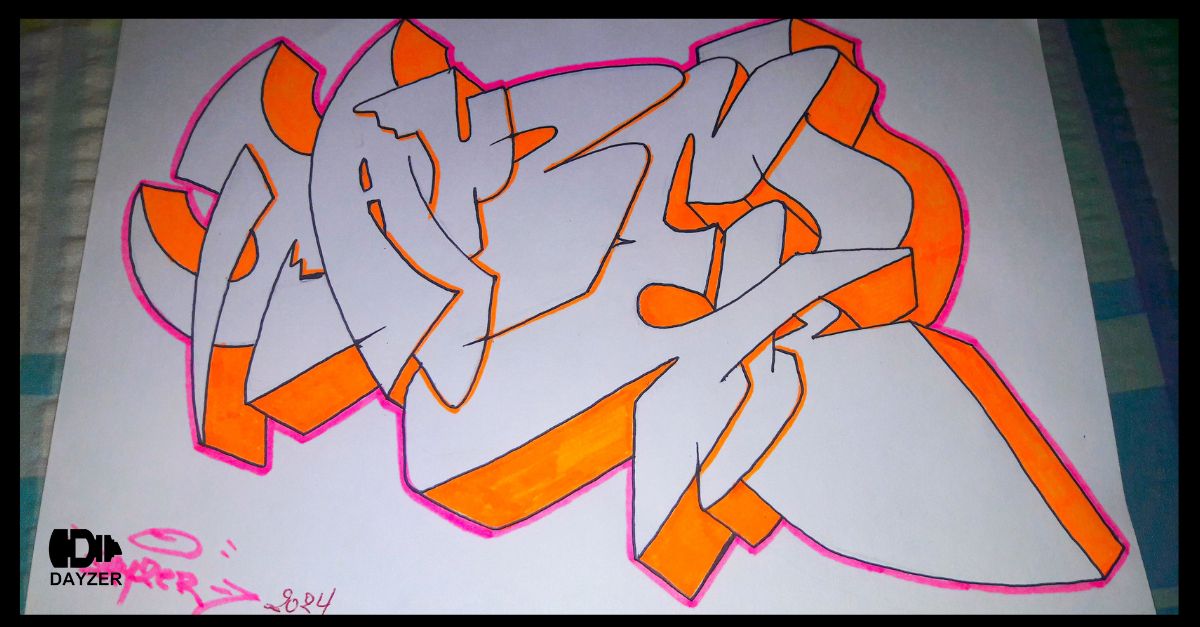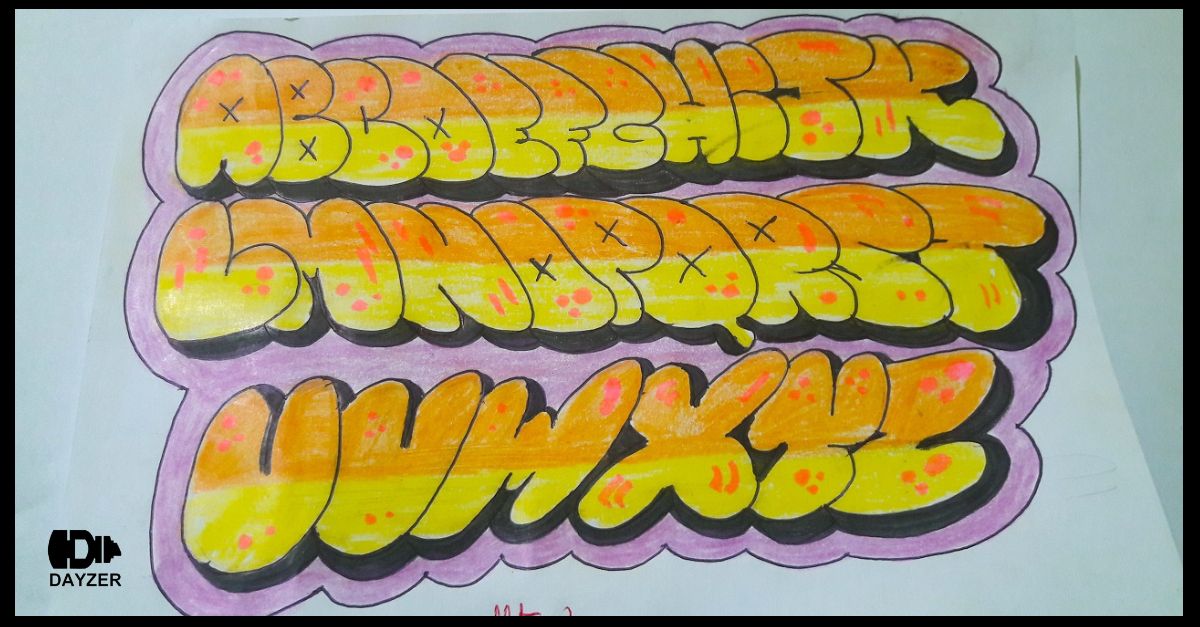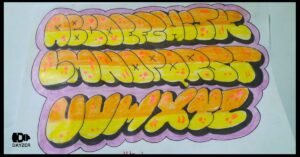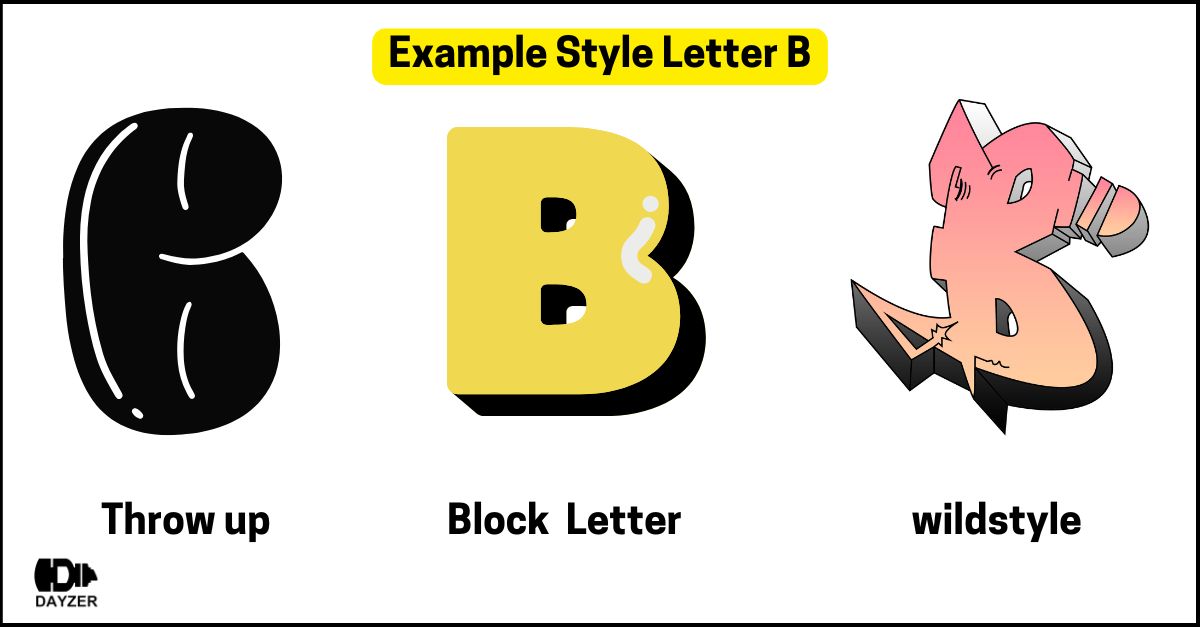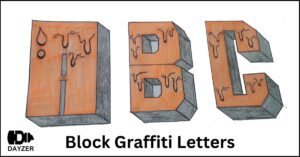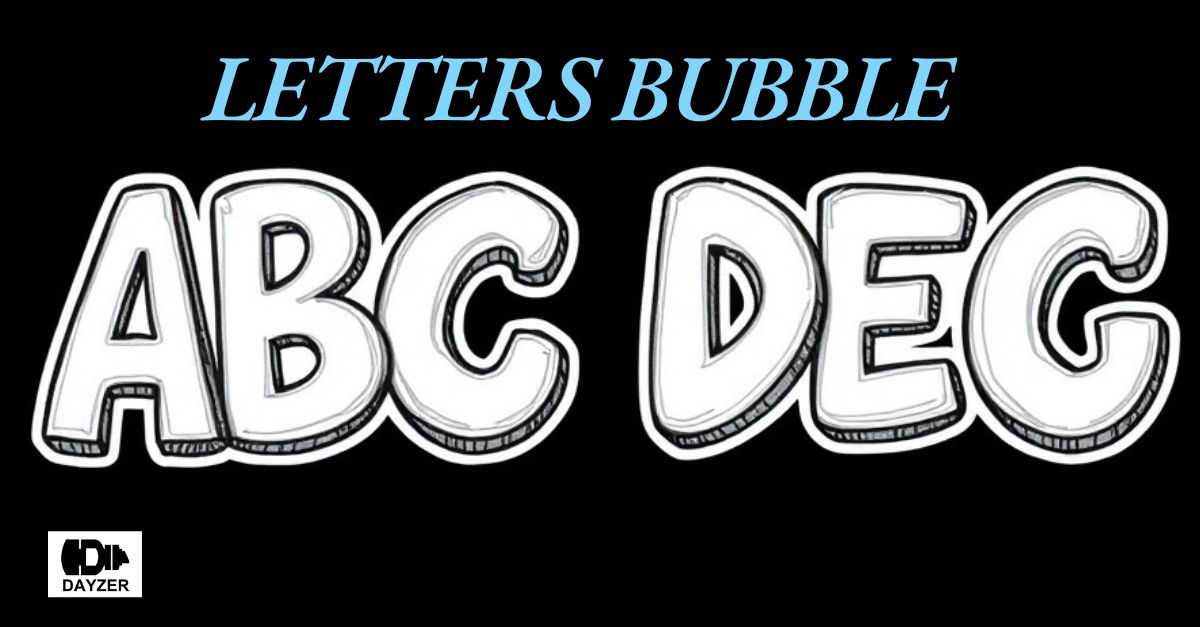
Graffiti bubble letters are a fun and iconic style of art that blends creativity and bold design. Known for their rounded, balloon-like shapes, these letters are perfect for beginners and experienced artists alike. In this guide, we’ll explore the history of graffiti bubble letters, step-by-step instructions to create them, and tips for refining your technique. Whether you’re creating art for fun or looking to enhance your graffiti skills, this guide has everything you need to get started.
What Are Graffiti Bubble Letters?
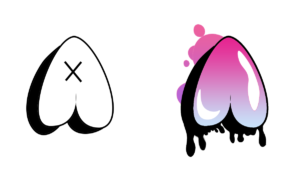
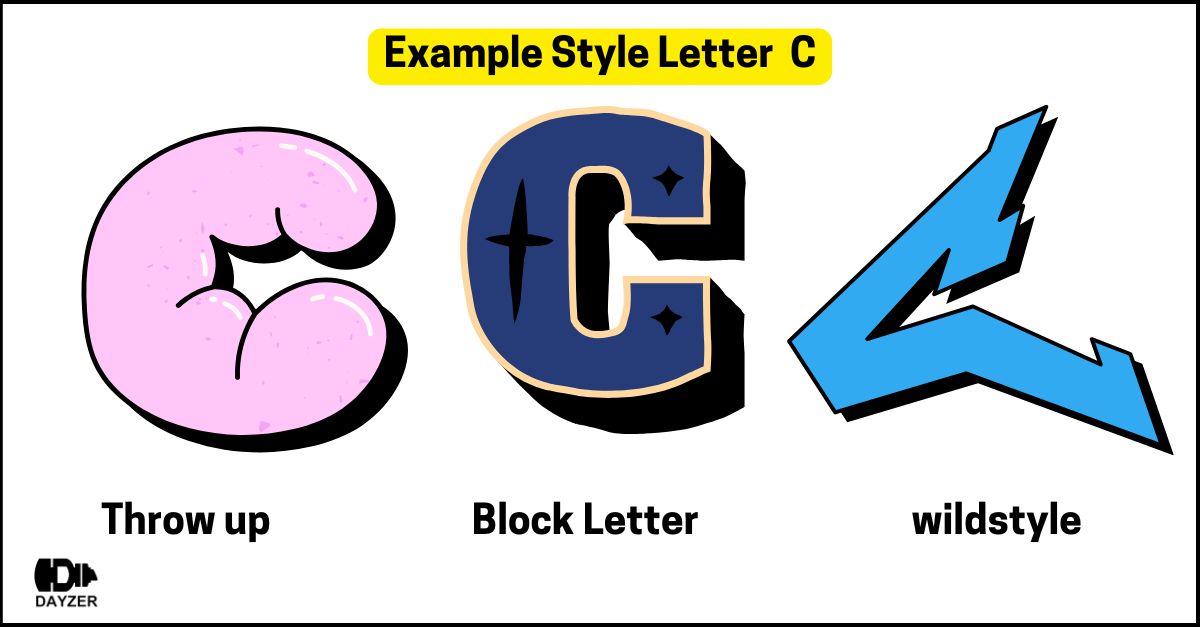
Graffiti bubble letters are a playful style of lettering that features soft, rounded edges, resembling inflated balloons. They are one of the most popular styles in graffiti art, known for their simplicity and bold appearance. Artists use bubble letters in street art, posters, digital designs, and more to create impactful and expressive messages.
A Brief History of Graffiti Bubble Letters
Graffiti as an art form began in the 1960s and 1970s in cities like New York and Philadelphia. Bubble letters quickly became a signature style within the movement due to their visual appeal and ease of execution. Early graffiti pioneers like Phase 2 popularized this style, making it a cornerstone of urban art.
Today, graffiti bubble letters continue to be a favorite among artists because of their versatility and ability to stand out in any design.
Materials Needed for Graffiti Bubble Letters
Creating graffiti bubble letters doesn’t require expensive supplies. Here’s what you’ll need:
- Paper or sketchbook
- Pencils for sketching
- Erasers to refine your designs
- Markers or spray paint for coloring
- Ruler (optional) for straight baselines
- Fine-tipped pens for outlining
For digital artists, graphic design software or drawing tablets can replicate the bubble letter style digitally.
How to Draw Graffiti Bubble Letters: Step-by-Step
Step 1: Choose Your Word or Phrase
Start by selecting the word or phrase you want to write. Short, impactful words like “LOVE,” “PEACE,” or your name work well for beginners.
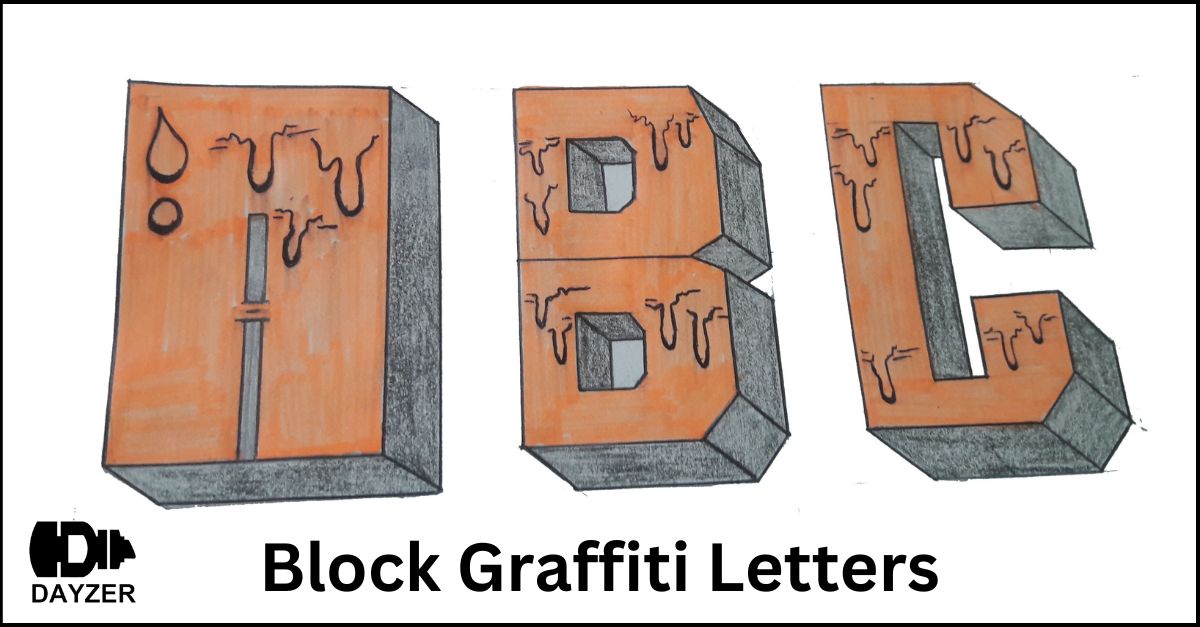
Step 2: Sketch Block Letters
Write your chosen word in simple block letters on paper. Use a light pencil stroke so you can adjust or erase as needed.
Step 3: Add Bubble Shapes
Outline each block letter with rounded edges to create the bubble effect. Focus on making the corners smooth and curved, resembling balloons or bubbles.
Step 4: Refine Your Shapes
Erase the original block letter outlines, leaving only the rounded bubble shapes. Adjust the curves and spacing between letters to ensure a clean and cohesive design.
Step 5: Outline with Ink
Trace over your final design with a fine-tipped pen or marker. This step adds definition to your graffiti bubble letters and prepares them for coloring.
Step 6: Add Color and Effects
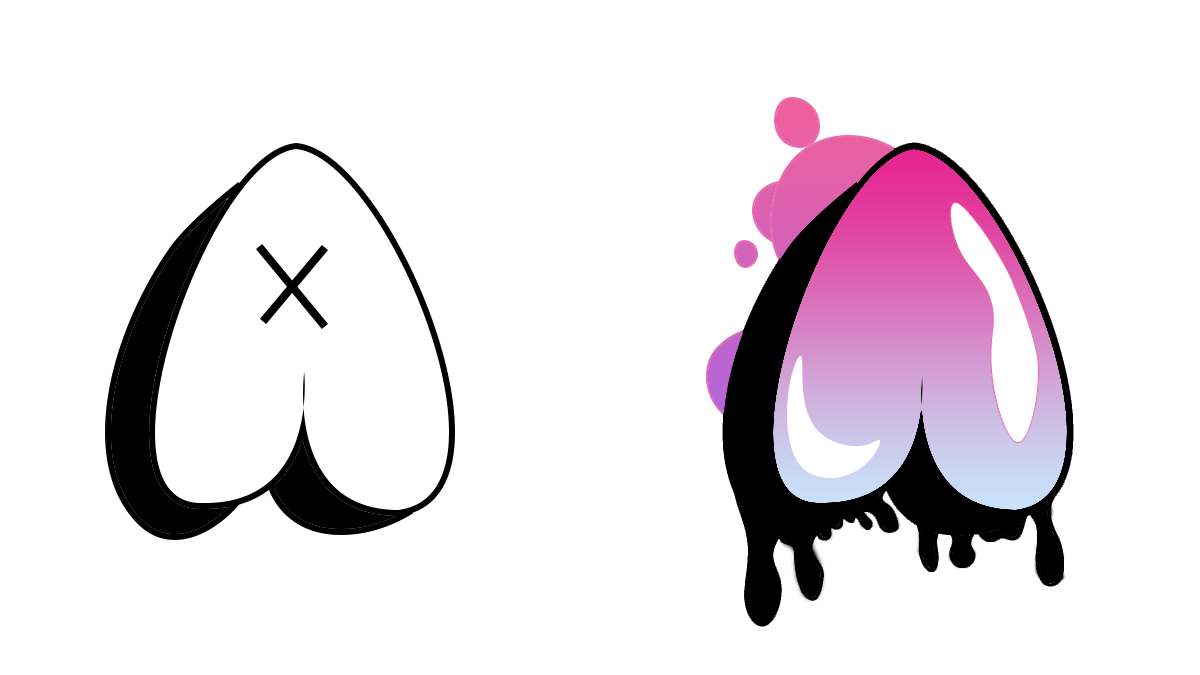
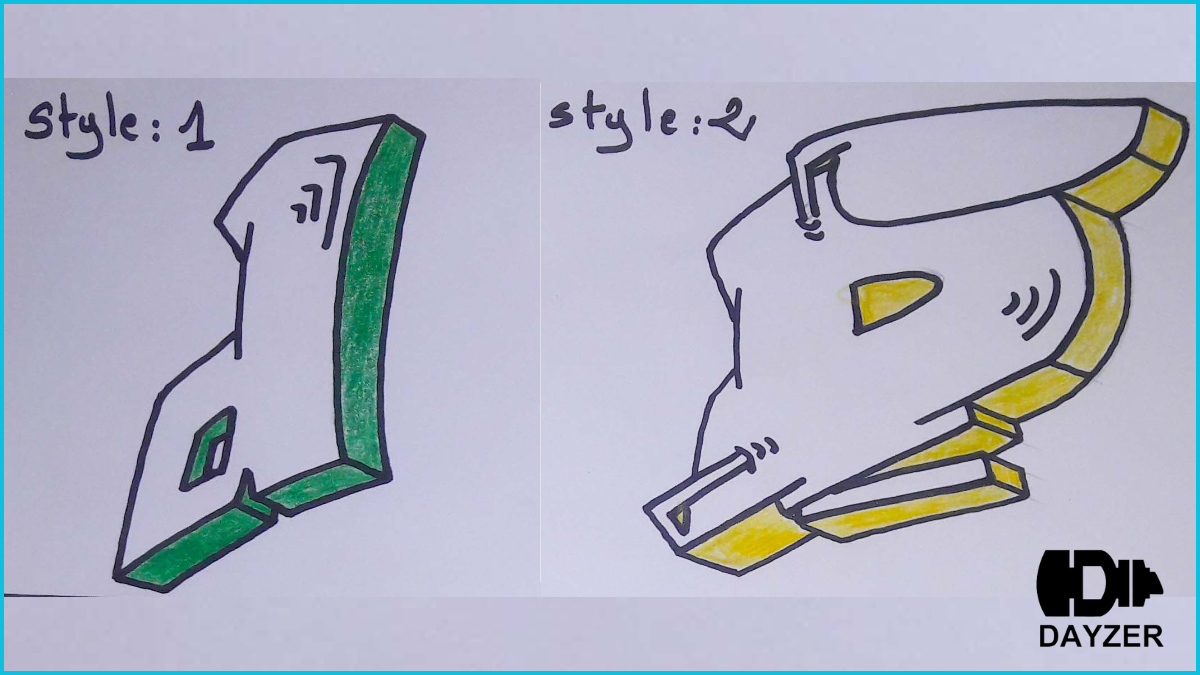
Use markers, crayons, or spray paint to fill in your bubble letters. Experiment with vibrant colors, shading, or patterns to make your artwork stand out. You can also add highlights and shadows for a 3D look.
Tips for Perfecting Graffiti Bubble Letters
- Practice Basic Shapes
Drawing circles and ovals helps improve the smoothness of your curves, which is essential for bubble letters. - Experiment with Fonts
Once you’ve mastered basic bubble letters, try adding unique elements like drips, arrows, or decorative patterns to make your style distinct. - Use Guidelines
Draw light horizontal lines on your paper to keep your letters even and aligned. - Play with Color
Use gradients, shading, or contrasting colors to add depth and make your design pop. - Be Patient
Like any art form, graffiti bubble letters take time and practice to perfect. Start simple and gradually incorporate more complexity into your designs.
Popular Uses for Graffiti Bubble Letters
Graffiti bubble letters are incredibly versatile. Here are some common ways they are used:
- Street Art: Add vibrant bubble letter tags or messages to urban landscapes.
- Posters and Signs: Make bold, eye-catching titles for events or projects.
- Digital Art: Use software like Adobe Illustrator to design bubble letter logos or graphics.
- School Projects: Incorporate graffiti-style lettering into presentations or art assignments.
Advanced Techniques for Graffiti Bubble Letters
Ready to take your bubble letters to the next level? Here are some advanced techniques to try:
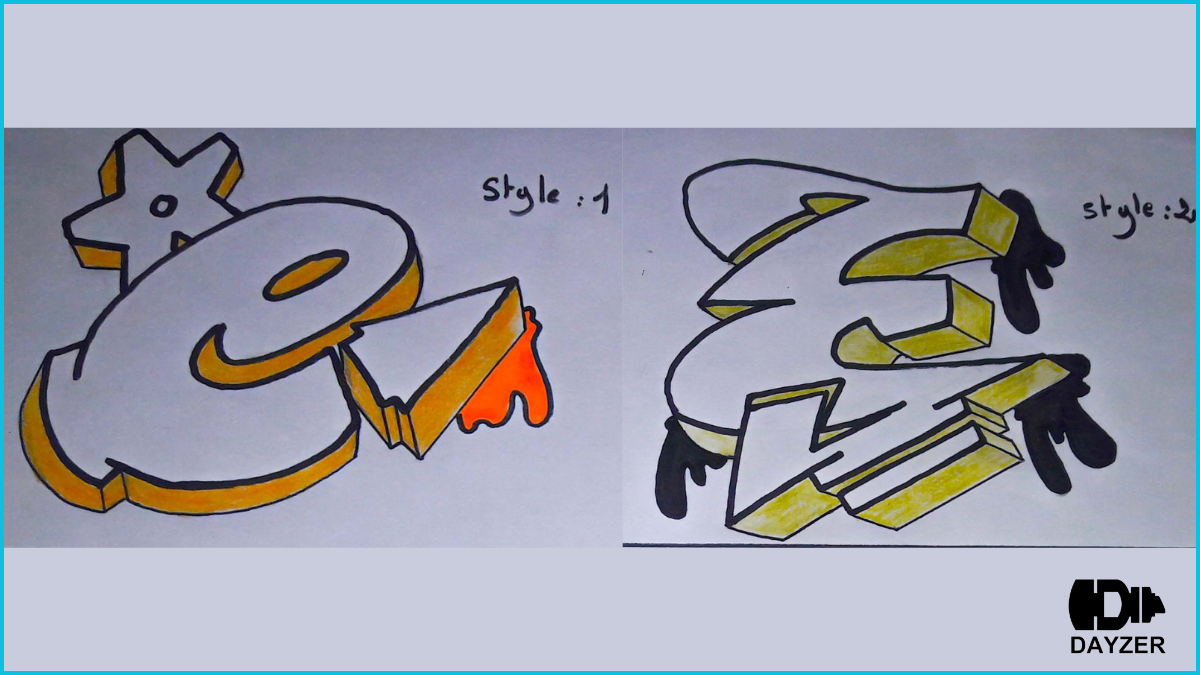
- 3D Effects: Extend parts of your letters to create the illusion of depth.
- Gradient Coloring: Blend colors within each letter for a dynamic appearance.
- Patterns: Fill your letters with polka dots, stripes, or custom designs.
- Shadows and Highlights: Add subtle shadows and light reflections to enhance the realism of your letters.
Common Mistakes to Avoid
- Overcrowding Letters
Leave enough space between letters to make your word easy to read. - Skipping the Sketch
Jumping straight to pen or marker increases the chance of mistakes. Always sketch your design first. - Using Uneven Shapes
Consistency is crucial. Make sure all your letters have a similar size and shape. - Overcomplicating Designs
Keep your designs simple when starting. Gradually add details as you improve.
Why Learn Graffiti Bubble Letters?
Graffiti bubble letters are not just about art—they’re about self-expression and creativity. Whether you’re designing for fun, enhancing a school project, or creating street art, this style of lettering is accessible to anyone with a passion for design.
Conclusion
Graffiti bubble letters are a timeless and versatile art form that combines boldness with creativity. By following the steps and tips in this guide, you can easily master the basics and gradually develop your unique style.
So grab your tools, start practicing, and let your creativity flow—your graffiti masterpiece is waiting!
