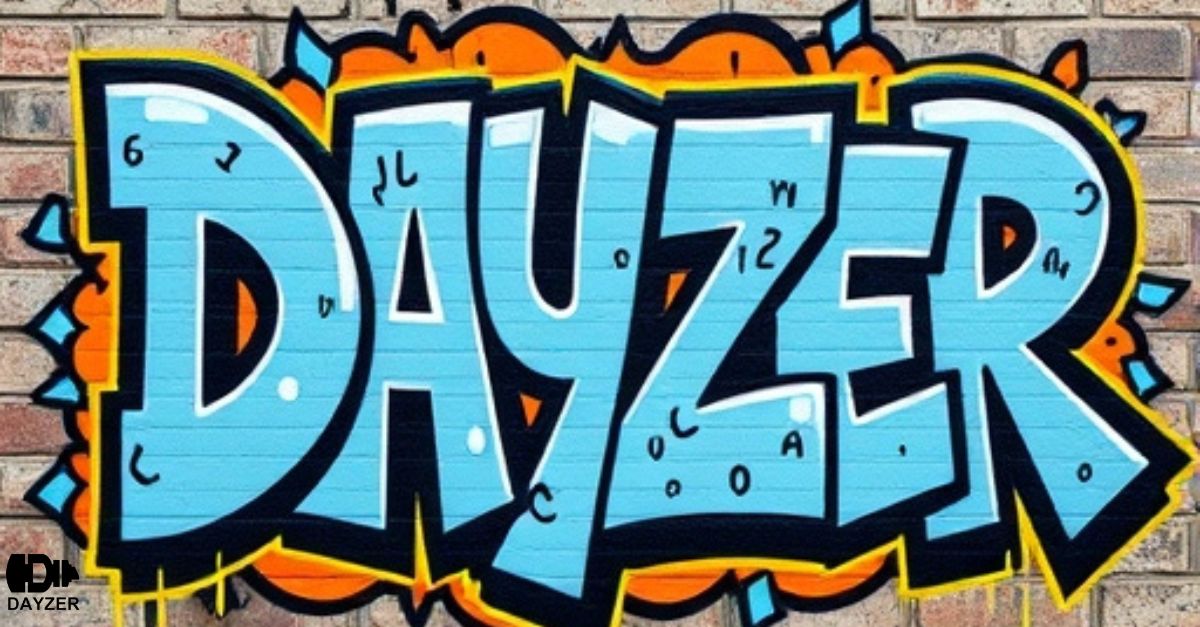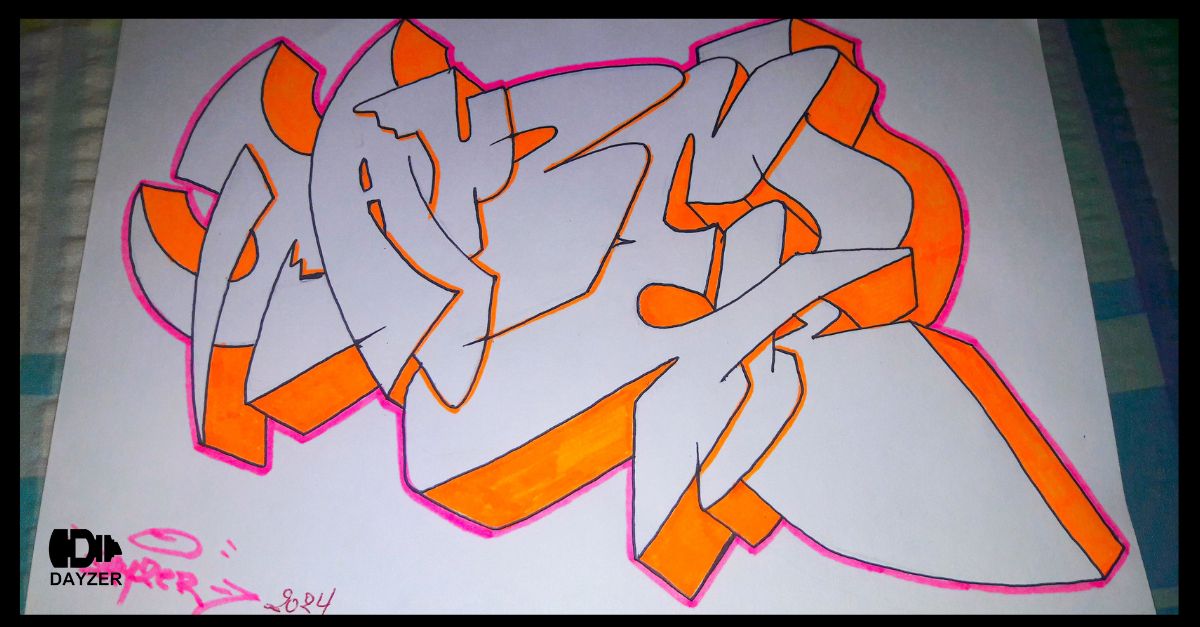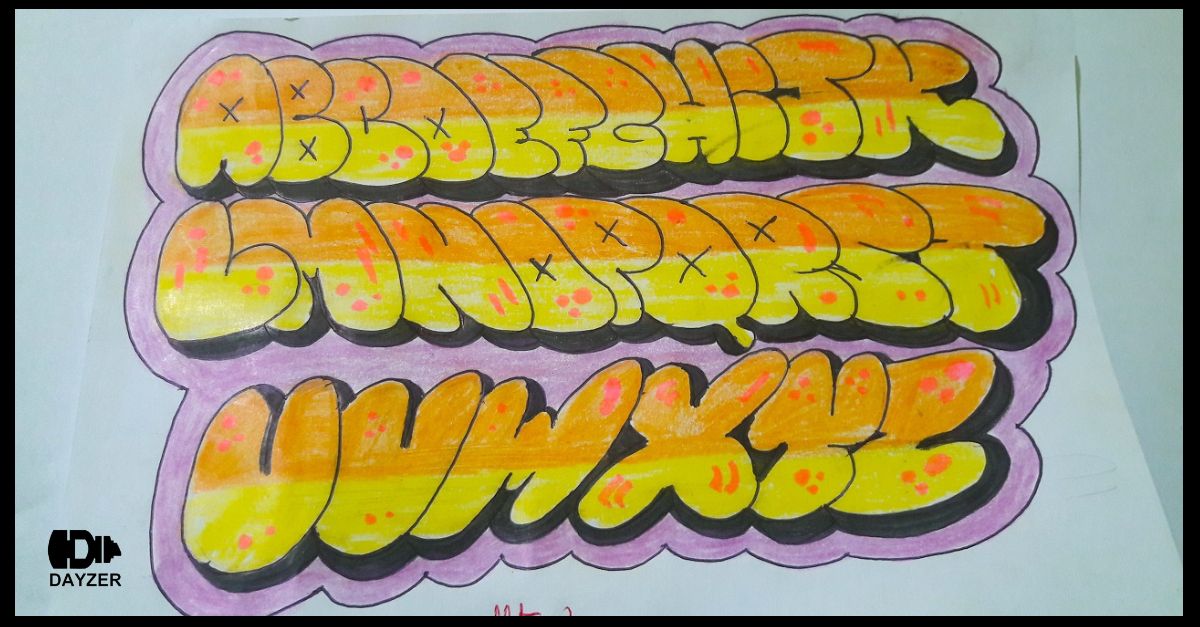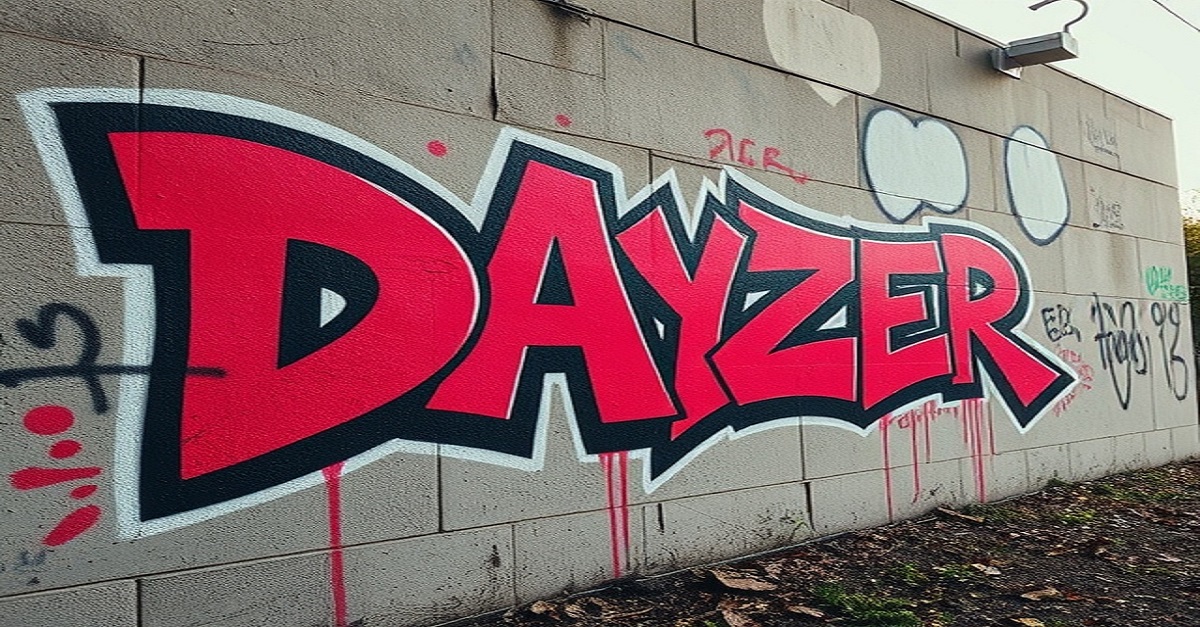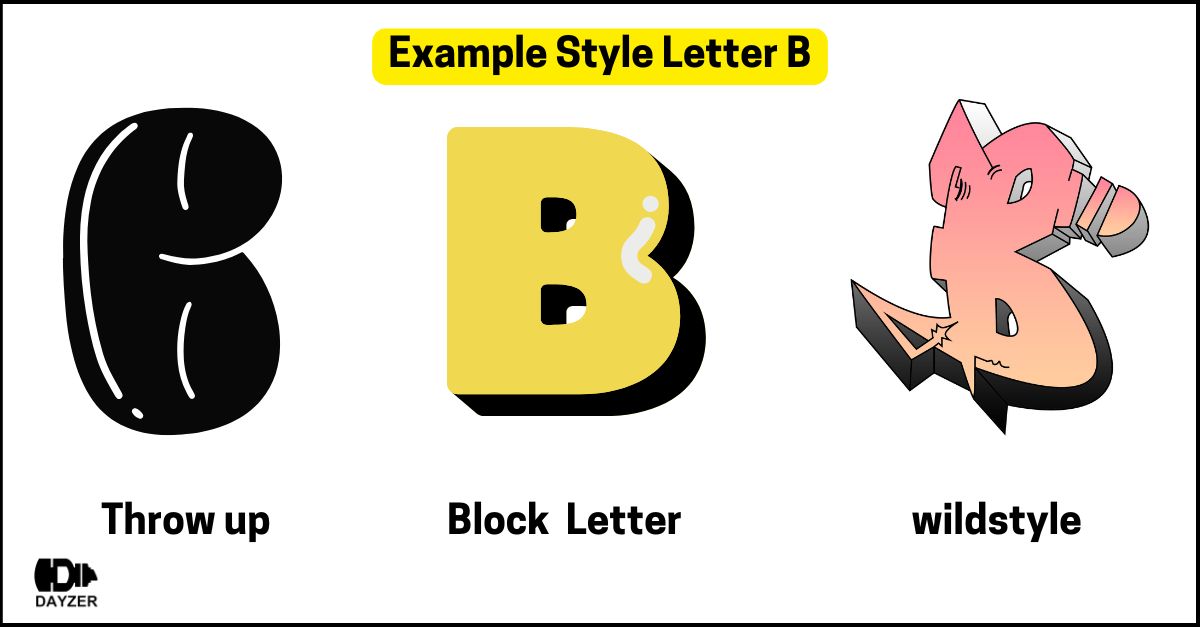
Graffiti bubble letters are a popular and visually appealing way to express creativity through art. Whether you’re a beginner or looking to refine your skills, learning how to create easy graffiti bubble letters is an enjoyable and rewarding experience. This guide will take you through every step to craft eye-catching bubble letters with ease. Along the way, you’ll discover tips, tricks, and techniques that will elevate your graffiti art.
What Are Graffiti Bubble Letters?
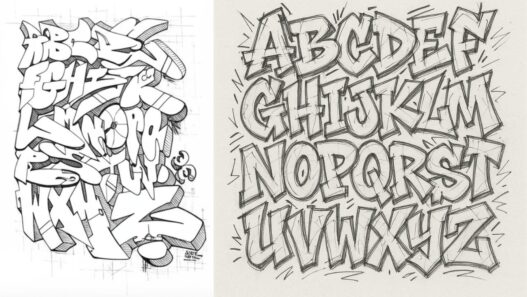
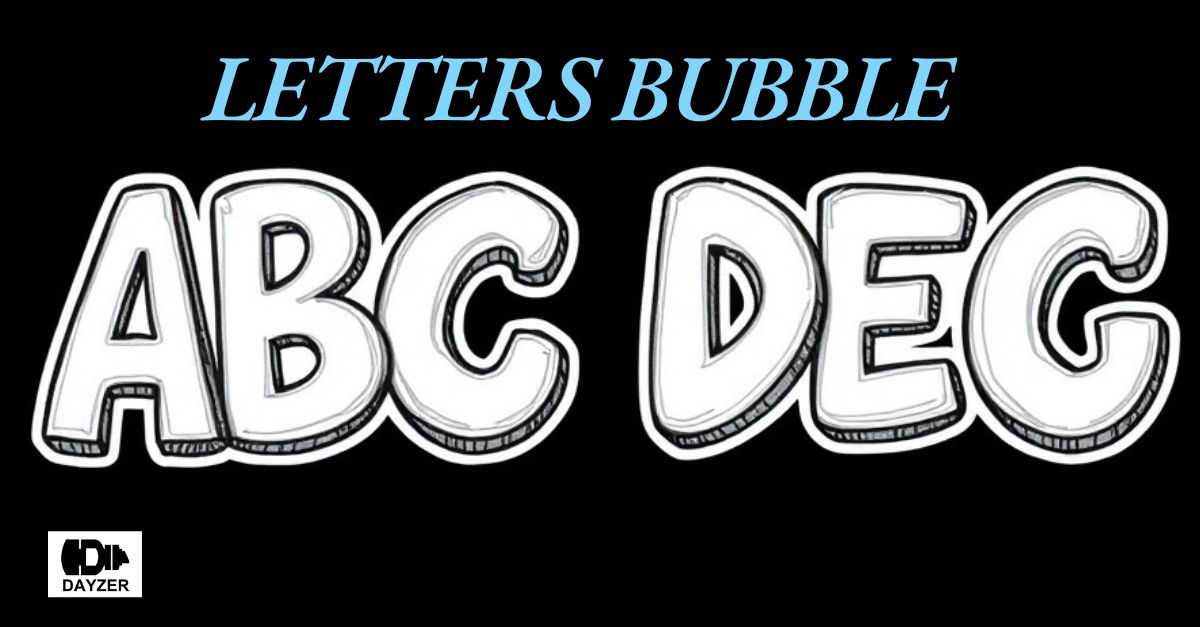
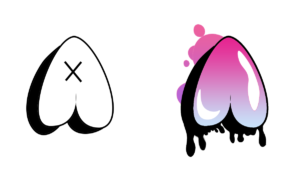
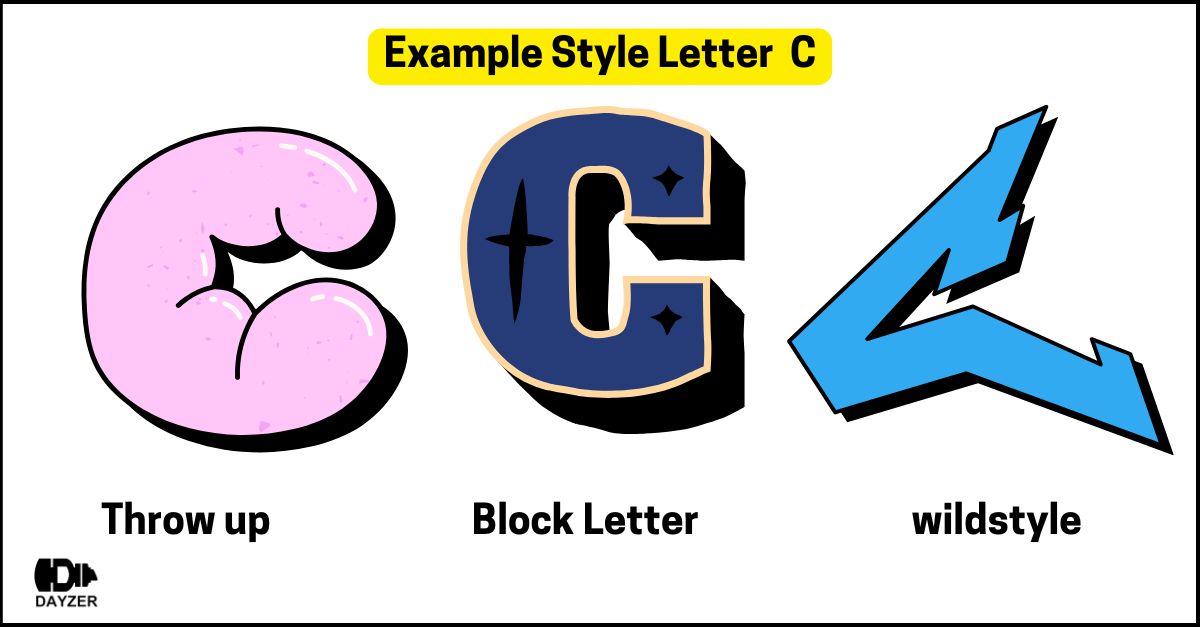
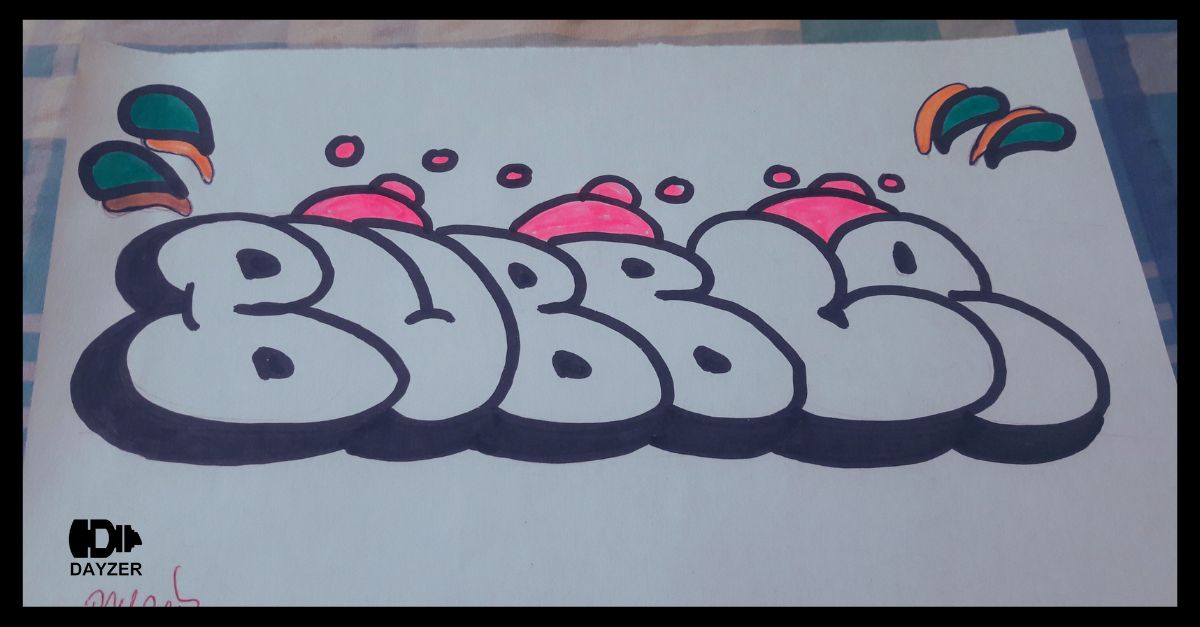
Graffiti bubble letters are a fun and stylized form of lettering characterized by rounded, puffy shapes. They resemble inflated balloons or bubbles, hence the name. This style is widely used in street art, posters, logos, and even classroom projects. Unlike more complex graffiti styles, bubble letters are beginner-friendly and versatile.
Materials Needed to Start
To get started, you’ll need a few basic materials:
- Paper or a sketchbook
- Pencil for initial sketches
- Eraser to refine your lines
- Markers or crayons for coloring
- Fine-tipped pen for outlining
- Ruler (optional) for creating uniform letters
These tools are easy to find and affordable, making graffiti bubble letters accessible to everyone.
Step-by-Step Guide to Easy Graffiti Bubble Letters
Step 1: Plan Your Lettering
Before putting pencil to paper, decide on the word or phrase you want to write. Short words or phrases work best for beginners, such as your name, a favorite word, or something motivational like “dream” or “peace.”
Step 2: Sketch the Base Letters
Write your word in simple block letters using a light pencil stroke. Block letters will serve as the skeleton for your bubble letters. Keep the spacing between letters wide to allow room for the rounded edges.
Step 3: Add the Bubble Effect
Around each block letter, draw an outline to create the “bubble” shape. Focus on making the edges round and puffy, avoiding sharp corners. Don’t worry about perfection—graffiti bubble letters often have an organic and playful appearance.
Step 4: Refine and Erase
Erase the original block letters inside the outlines, leaving only the bubble shapes. At this stage, you can adjust the curves and connections between letters to make them flow better.
Step 5: Outline with Pen
Trace over the final bubble shapes with a fine-tipped pen or marker. This step defines your letters and prepares them for coloring. Let the ink dry before erasing the remaining pencil lines.
Step 6: Add Color and Details
Use markers, colored pencils, or crayons to fill in your graffiti bubble letters. Experiment with color gradients, patterns, or shading to make your design pop. You can also add highlights and shadows for a 3D effect.
Tips for Perfecting Your Bubble Letters
- Practice Basic Shapes
If you’re struggling with curves, practice drawing circles and ovals. This will help you master the smooth, rounded lines needed for bubble letters. - Use Guidelines
Draw faint horizontal lines across your paper to keep your letters even. This is especially helpful for beginners. - Experiment with Styles
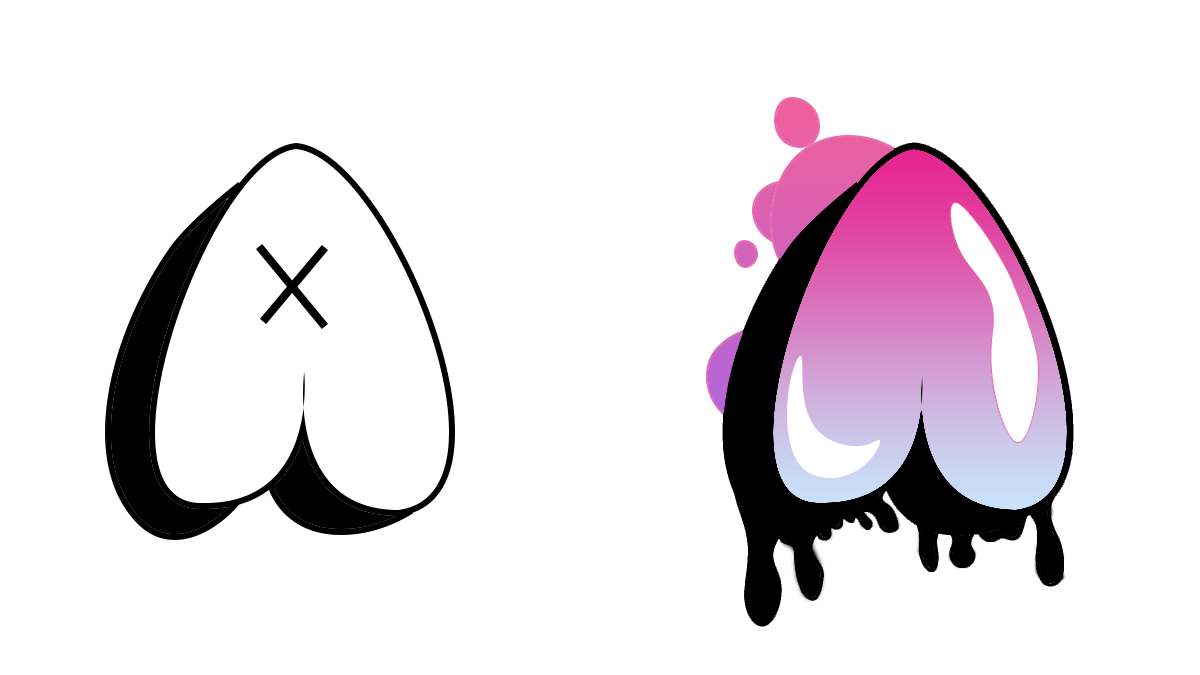
Once you’re comfortable with basic bubble letters, try adding elements like drips, arrows, or stars to give your graffiti a unique flair. - Incorporate Shadows
Adding shadows can create depth and make your graffiti stand out. Draw shadows slightly offset from the edges of your letters and fill them in with a darker shade. - Be Patient
Like any skill, creating graffiti bubble letters takes practice. Don’t be discouraged if your first attempts aren’t perfect. Keep refining your technique.
Popular Uses for Bubble Letters
Graffiti bubble letters can be used in various creative projects:
- Posters: Make eye-catching titles for school or event posters.
- Wall Art: Design murals or wall decals for a personalized touch.
- Cards: Create custom birthday or holiday cards.
- Digital Art: Use graphic design software to bring your bubble letters to life digitally.
Advanced Techniques to Try
Once you’ve mastered the basics of easy graffiti bubble letters, consider exploring these advanced techniques:
- Gradient Coloring: Blend two or more colors within each letter for a dynamic look.
- 3D Effects: Extend parts of your letters to create the illusion of depth.
- Custom Patterns: Fill your letters with polka dots, stripes, or other creative patterns.
These techniques will help you take your graffiti to the next level while showcasing your artistic growth.
Common Mistakes and How to Avoid Them
- Overcrowding Letters
If your letters are too close together, they can become difficult to read. Leave ample space between each letter for clarity. - Skipping the Sketch
Jumping straight to pen or marker can lead to mistakes that are hard to fix. Always sketch first. - Uneven Shapes
Consistency is key. Take your time to ensure each letter has a similar size and roundness. - Overcomplicating Design
As a beginner, stick to simple designs. Adding too many details can overwhelm your artwork.
Why Learn Graffiti Bubble Letters?
Learning how to create easy graffiti bubble letters is more than just a fun activity. It’s a form of self-expression that can boost creativity and confidence. Whether you’re making art for yourself or sharing it with others, this skill is sure to impress and inspire.
Final Thoughts
Graffiti bubble letters are a fantastic entry point into the world of graffiti art. They’re simple to learn, endlessly customizable, and perfect for artists of all ages. By following this guide, you’ll be well on your way to mastering easy graffiti bubble letters and discovering your unique style.
So grab your tools and start creating—your masterpiece awaits!
esay drawing graffiti art bubble letters watch video tutorials :
Social Share :
Advertisement
