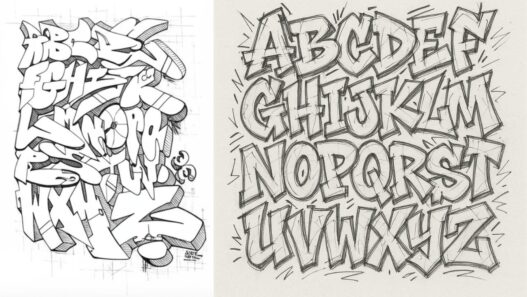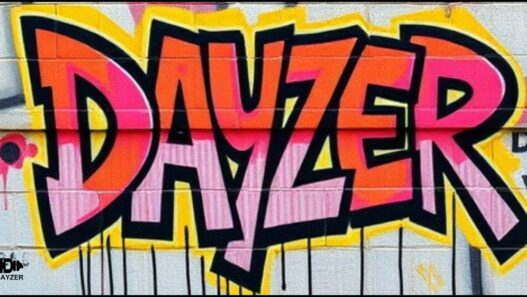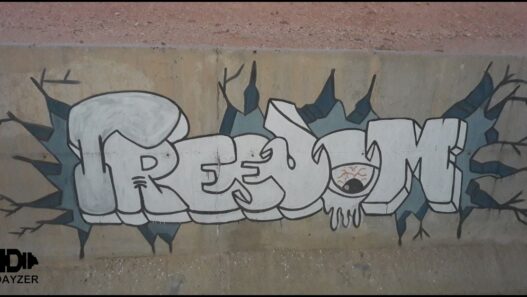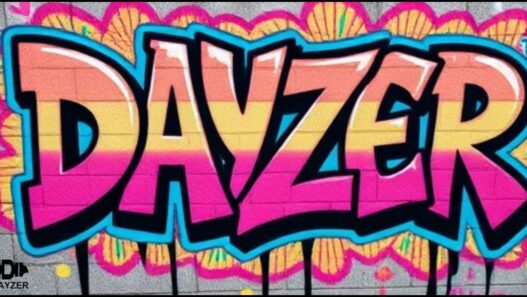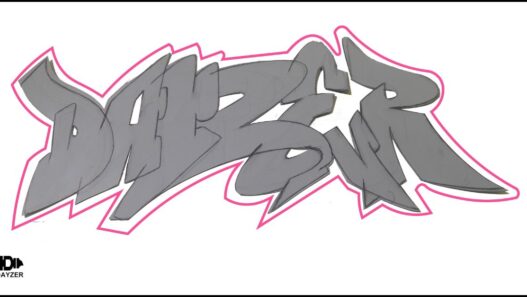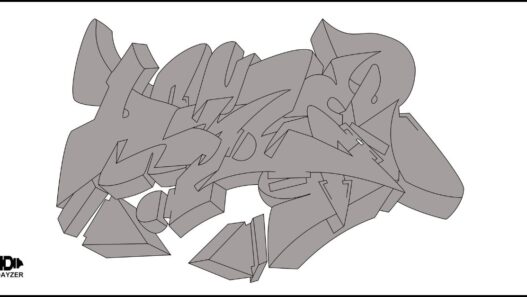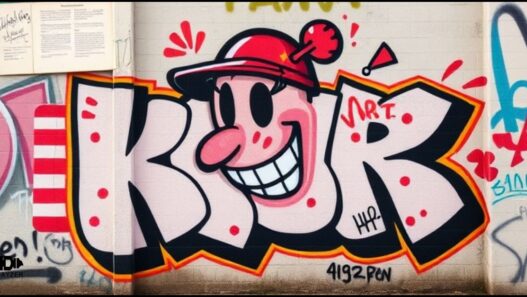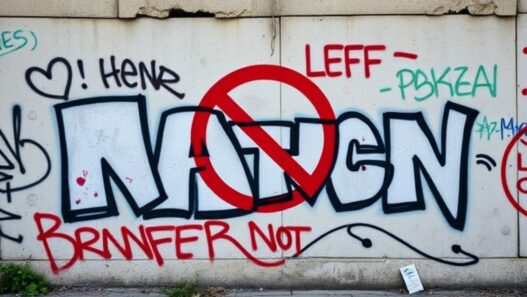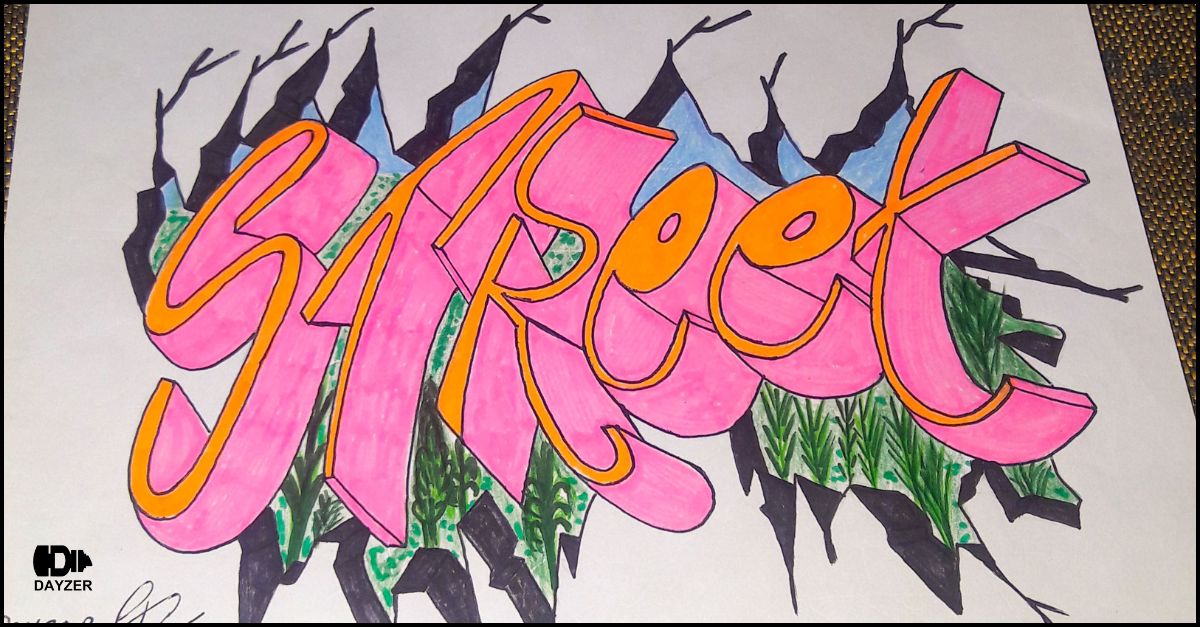
Graffiti is a dynamic art form that has evolved significantly over the years. One exciting variation is 3D graffiti, where artists create the illusion of depth and dimension on flat surfaces. In this article, we’ll show you how to take your graffiti sketches from flat to 3D, using simple techniques that add visual intrigue and boldness to your designs.
Advertisement
Step 1: Understanding 3D Graffiti Sketches
Before diving into creating 3D graffiti sketches, it’s important to grasp the concept. 3D graffiti involves using perspective, shading, and color to make designs appear as if they’re popping off the wall or page. Unlike traditional flat graffiti, 3D sketches add an element of realism that captivates viewers.
Step 2: Gathering the Right Materials for 3D Sketch Graffiti
To create your own 3D graffiti sketches, you’ll need the following materials:
- Paper or Wall Surface: Choose a clean, smooth surface to work on.
- Pencils and Markers: These will help create the initial sketch and outline your design.
- Shading Tools: Charcoal or colored pencils are perfect for adding depth.
- Ruler and Compass: These tools are essential for maintaining correct angles and measurements for perspective.
Step 3: Sketching Your Design in 2D First
Start by sketching your graffiti design in 2D before adding any 3D elements. Focus on clean lines and bold shapes. Use simple lettering styles or icons that you plan to transform into 3D later on. This step will serve as the foundation of your design.
If you’re looking for the perfect sketchbook to plan your drawings and ideas, I personally recommend this one. I use it myself — it offers high quality and excellent paper for sketching. You’ll find the purchase link below the product!


Step 4: Adding Perspective to Your 3D Graffiti Sketch
To make your graffiti sketch look three-dimensional, you need to incorporate perspective. This means drawing lines that converge at a single point on the horizon. The illusion of depth is achieved by extending the edges of your design toward the vanishing point. This gives the impression that your graffiti is moving outward or receding into space.
Step 5: Applying Shading and Highlights for Depth
Shading is key to creating a realistic 3D effect in graffiti. Darken areas that are far from the light source and leave lighter areas where the light hits the design. Adding highlights on the edges and inner portions of the design will help give it more volume and make it appear to pop off the surface.
Step 6: Finalizing Your 3D Graffiti Sketch with Colors
Once you have the basic 3D structure and shading in place, it’s time to bring your design to life with color. Use vibrant shades to fill in the main parts of your design, while utilizing contrasting colors to emphasize the 3D effects. Try adding gradients to enhance the illusion of depth.
Step 7: Refining Your 3D Graffiti Sketch for a Polished Finish
To complete your 3D graffiti sketch, go over the outlines and adjust the perspective lines if necessary. Clean up any rough edges or areas where the shading isn’t smooth. Use a black pen or marker to outline the design, giving it a clean, professional finish.
3d graffiti drawing learning video:
FAQs About 3D Graffiti Sketches
1. What is the difference between flat and 3D graffiti sketches?
Flat graffiti sketches are two-dimensional designs, while 3D graffiti sketches use techniques like perspective and shading to create the illusion of depth, making the artwork appear three-dimensional.
2. How can I add perspective to my 3D graffiti sketches?
To add perspective, use a vanishing point and draw lines from the edges of your design that lead to this point. This gives the illusion that the graffiti design is receding into the distance.
3. Do I need special materials for 3D graffiti sketches?
You don’t need special materials, but high-quality markers, pencils for shading, and a smooth surface (like paper or a wall) will help achieve the best results for your 3D graffiti art.
4. How do I add depth to my 3D graffiti sketches?
Shading is essential for adding depth. Darken areas further from the light source and use lighter tones on the parts that are illuminated to make your design look more three-dimensional.
5. Can I create 3D graffiti sketches digitally?
Yes! You can use digital art programs like Adobe Illustrator, Procreate, or Photoshop to create 3D graffiti sketches. These tools offer advanced features to add depth, shading, and realistic effects to your designs.
6. What are some common mistakes to avoid in 3D graffiti sketches?
Avoid using inconsistent shading, incorrect perspective, and disproportionate elements. Make sure your perspective lines converge at a single vanishing point to ensure your 3D graffiti sketch looks realistic.
7. How can I make my 3D graffiti sketches stand out?
Experiment with bold colors, dynamic shapes, and unusual perspectives. Layering and adding extra details like highlights, shadows, and textures will also make your 3D graffiti sketch stand out more.
8. Do I need to be experienced to create 3D graffiti sketches?
No, beginners can start with basic designs and gradually incorporate more complex 3D effects. The key is practice, so don’t be afraid to experiment and improve over time.
9. Can I use 3D graffiti techniques on any type of graffiti?
Yes! Whether you’re working with throw-ups, wildstyle, or bubble letters, you can apply 3D techniques to any type of graffiti style to give it a dynamic, more visually appealing look.
10. How can I improve my 3D graffiti skills?
To improve your 3D graffiti skills, practice drawing basic shapes and understanding perspective. Experiment with different shading techniques and continue to refine your skills with each new piece you create.
Start Creating Stunning 3D Graffiti Sketches Today
Creating 3D graffiti sketches can transform your street art into a visually striking masterpiece. With the right techniques and a bit of practice, you can take your designs from flat to 3D and impress your audience. Follow these steps, experiment with colors and shading, and soon you’ll be able to create graffiti that truly pops off the wall.
share botton:
