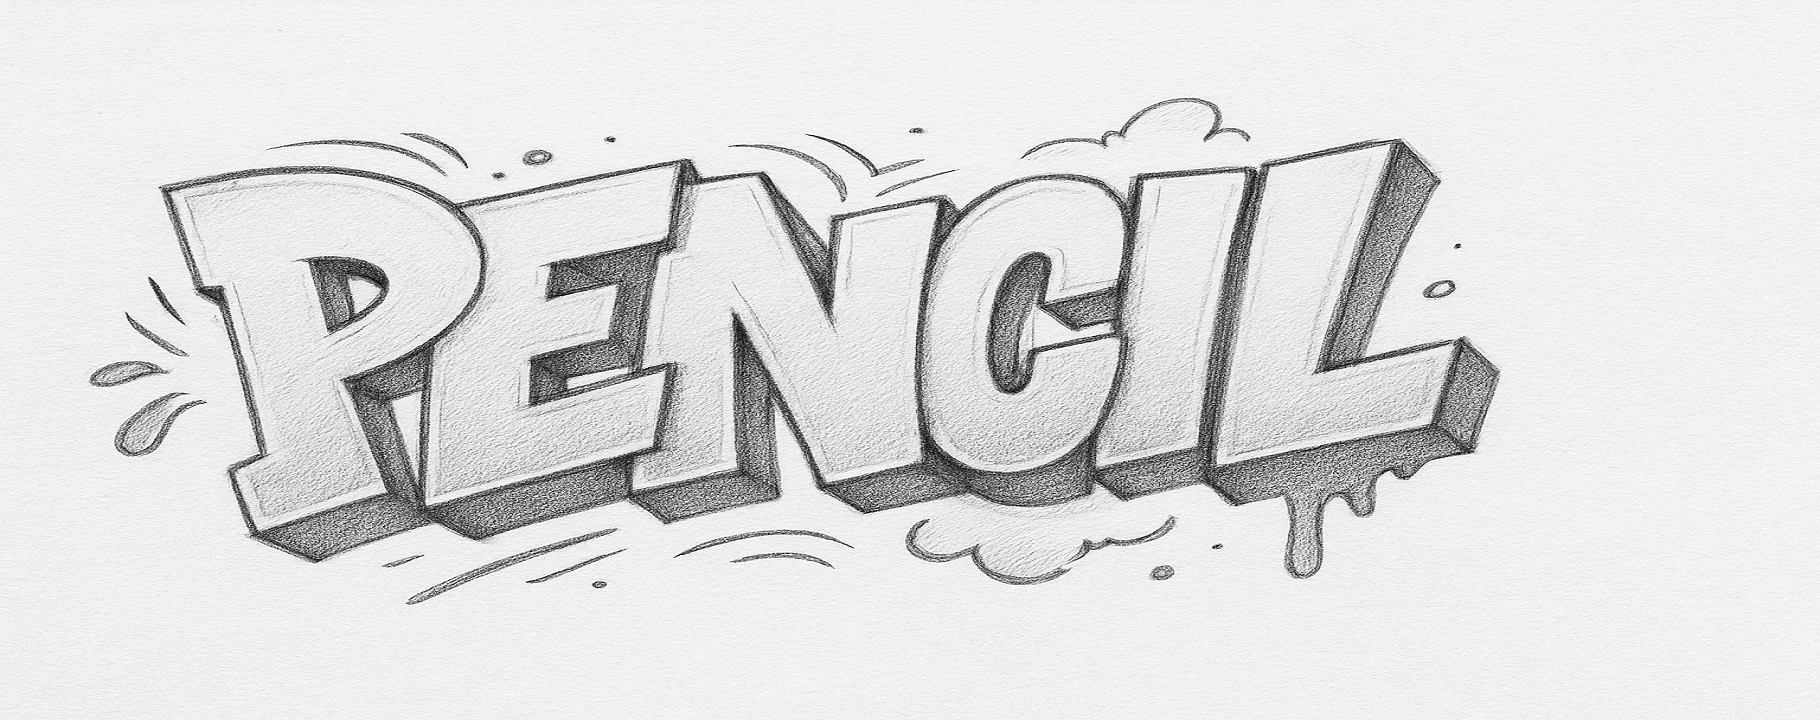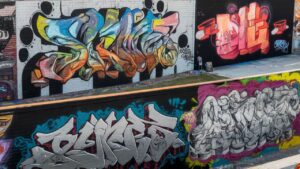
Graffiti text art has long been a powerful medium for self-expression, rebellion, and cultural storytelling. While traditional spray-painted murals dominate city walls, many artists are now bridging the gap between analog and digital by converting their hand-drawn graffiti art into scalable vector art. Whether you’re preserving your work, creating merch-ready designs, or expanding your artistic versatility, digitizing graffiti art opens up endless possibilities. In this guide, we’ll walk through the process of transforming raw throw-up graffiti art style into polished vector graphics using Adobe Illustrator.
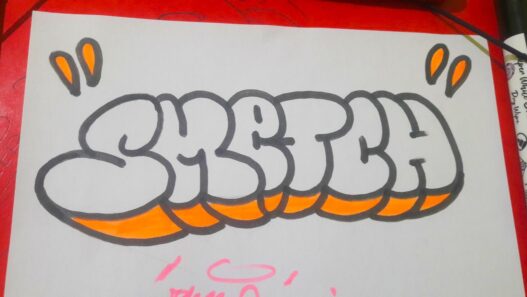
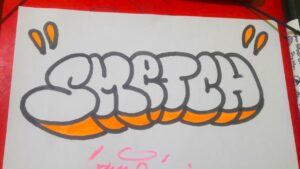
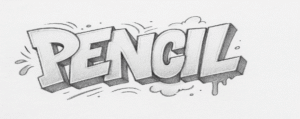
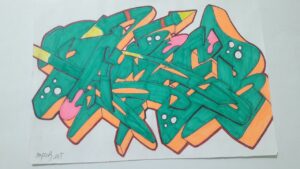
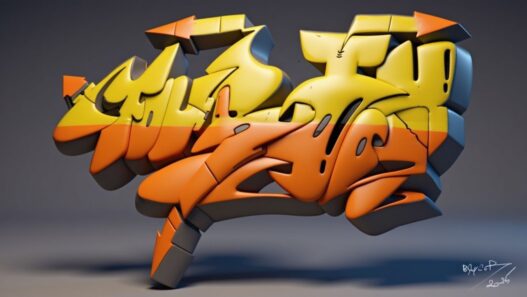
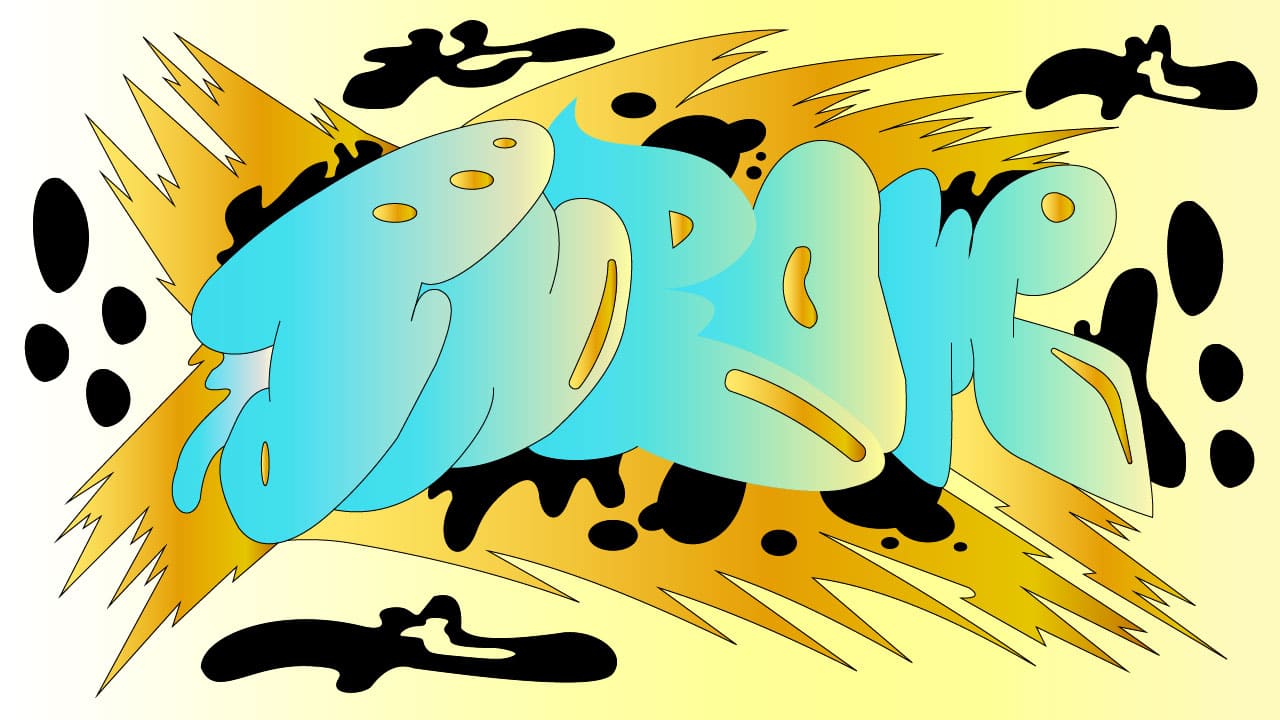
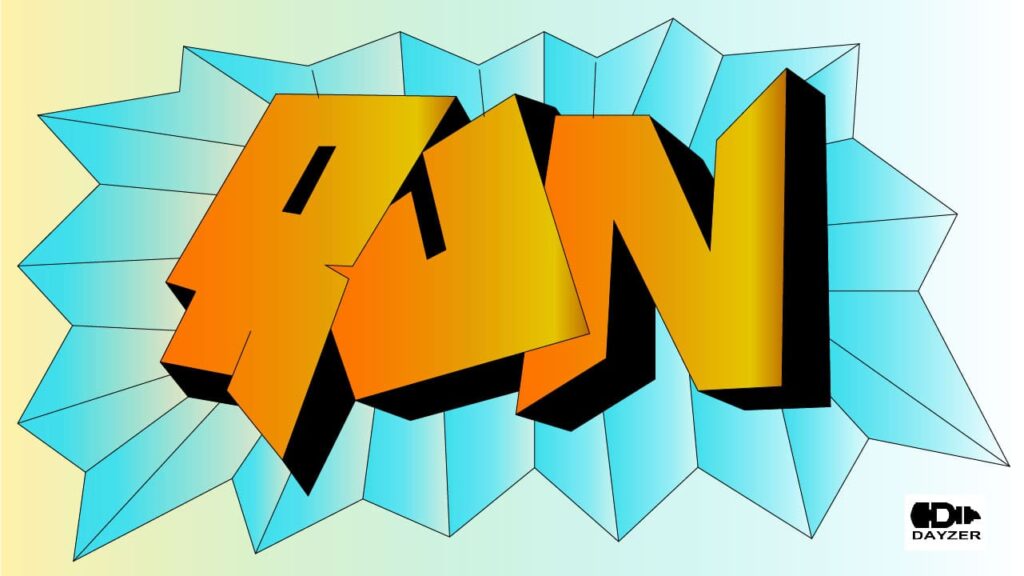
This drawing was then drawn on paper in the form of a graffiti art, and then I converted it into a digital drawing through the Illustrator platform using Pen Tools.
Advertisement
Why Digitize Graffiti Text?
This artwork features the classic throw-up style—a foundational technique in graffiti art culture. As one of the oldest and most essential forms of street lettering, throw-ups serve as a rite of passage for every graffiti artist. Their bubbly, bold shapes and quick execution make them the perfect starting point before advancing to more complex styles like wildstyle or 3D pieces.
Before diving into the how, let’s explore the why:
- Preservation: Protect fragile paper sketches of your graffiti art from wear and tear.
- Scalability: Vector graffiti text allows infinite resizing for prints, murals, or apparel.
- Commercial Use: Sell graffiti art designs as merch, NFTs, or licensed artwork.
- Creative Flexibility: Experiment with colors and textures in your graffiti text non-destructively.
Tools You’ll Need
- Original Graffiti art Sketch (paper or digital photo)
- Adobe Illustrator (or alternatives like Inkscape)
- Scanner or Smartphone (to capture your graffiti art)
- Pen Tablet (optional but helpful for tracing graffiti art)
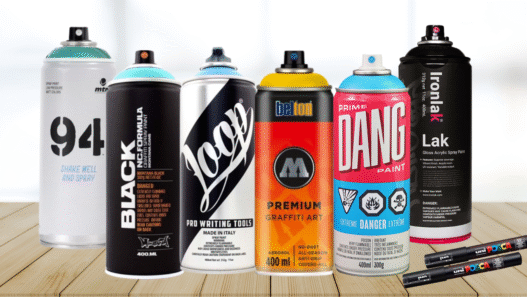
- Graffiti art Brush Packs (for authentic spray-paint textures)
Step-by-Step Graffiti Art Sketch Conversion
1. Capture Your Graffiti art Sketch
- Scan it: Use high-resolution (300+ DPI) for clean graffiti art lines.
- Photograph it: No scanner? Shoot in bright light and straighten your graffiti art image.
2. Import & Prep in Illustrator
- Open new document and File > Place your graffiti art sketch.
- Lower opacity to ~30% and lock the layer for tracing graffiti art.
Unleash your creativity with the HUION Kamvas Pro 16 — a premium pen display tablet built for artists, designers, and creators who demand precision and performance!

3. Vectorize the Graffiti Text
Option A: Manual Tracing (Best for Authentic Graffiti art)
- Use Pen Tool (P) to trace graffiti art outlines precisely.
- Adjust Stroke Weight to match original graffiti art thickness.
- Apply “Roughen” Effect for hand-drawn graffiti art imperfections.
Option B: Auto-Trace (Faster but Less Organic for Graffiti art)
- Select image and use “Image Trace” (“Sketch Art” preset works well for graffiti art).
- Refine with Path > Simplify to clean up graffiti art paths.
4. Enhance Graffiti Text Style
- Apply spatter brushes to edges for authentic graffiti art spray effects.
- Use Blob Brush (Shift+B) to add graffiti art drips or fill gaps.
5. Color Your Graffiti Text
- Use classic graffiti art palettes (bold colors with black outlines)
- Add 3D Extrusion for dimensional graffiti art effects
Pro Tips for Authentic Graffiti Text
- Maintain Imperfections: Slightly uneven letters give graffiti art its character
- Layer Structure: Keep graffiti art outlines, fills, and textures on separate layers
- Test Applications: See how your vector graffiti art works on mockups (t-shirts, posters)
Creative Uses for Digital Graffiti Text
Your vectorized graffiti art can become:
- Brand logos with urban edge
- Apparel designs for streetwear
- Digital stickers and social media assets
- NFT collections with animated graffiti art
Free Graffiti Text Resources
Final Thought:
Digitizing graffiti art respects street art traditions while unlocking new creative and commercial potential for your work.
Call to Action:
Show us your graffiti art creations! Tag #dayzerart
share botton:
Advertisement
